

Mastering Sun-Kissed Photography: Tips for Capturing the Bright Sun as a Photographer
Photographing in bright sunlight can be both rewarding and challenging for photographers. The harsh, direct sunlight can create stunning effects when harnessed correctly, but it can also lead to overexposed images and harsh shadows if not managed properly. In this blog post, we'll explore valuable tips and techniques to help you make the most of shooting in bright sun conditions.
Don't be afraid to book your session in the middle of the day when the sun is the brightest! Most photographers will recommend shooting during "golden hour" - which is usually the hour right after sunrise or the hour before sunset - this lighting is soft and you guessed it - golden - and makes for beautiful photos. It's not necessarily the best time for lighting, but it usually is the easiest! This is because the sun is much less harsh and bright at this time meaning you don't have to worry as much about harsh shadows on the face. It's also great during the summer because this is usually a much cooler time in the day to shoot, so you don't have to worry about being directly in the sun and heat! However, I've found that shooting during the day when the sun is the highest in the sky and super bright renders stunning photos as well!


My Top Tips
To avoid harsh shadows on my clients, I always make sure that the sun is behind them. I also shoot at a relatively high shutter speed, usually 1/600 or higher depending on how bright the sun is - this basically means the shutter is clicking at such a high rate it doesn't allow for as much sun to enter the frame. This also means that on camera, the photos will appear very dark and underexposed, but I do this so that I can preserve details and once I edit them, I'll be able to balance the lighting. I also love finding shaded spots for photos as well!
Timing is Everything:
The sun is at its harshest and brightest around midday. To achieve softer, more flattering lighting, plan your outdoor shoots during the "golden hours" – the first hour after sunrise and the last hour before sunset.
Use a Lens Hood:
A lens hood can help reduce lens flare and glare caused by the intense sunlight. It's a simple yet effective tool to maintain image quality in bright conditions.
Shoot in the Shade:
Seek out shaded areas, such as under trees, awnings, or buildings, to soften the harsh sunlight. This will help you create even, diffused lighting on your subjects.
Golden Backlighting:
Shooting into the sun can produce stunning backlit photos. Position your subject between the camera and the sun, which creates a beautiful halo effect and can make for some captivating silhouettes.
Adjust Your Exposure:
Experiment with your camera's exposure settings. Use a lower ISO, a narrower aperture (higher f-stop number), and a faster shutter speed to control the amount of light entering the camera and avoid overexposure.


So, if you're ever wondering if you can take photos during the middle of the day with super bright and harsh sun - the answer is absolutely yes! It make take some extra angling and positioning to avoid shadows on your face or the sun in your eyes, but it can be done, and the extra effort is worth it! I also love the extra dimension that the sun gives as you can also use shadows being cast on certain areas of your location as an element in your photos!


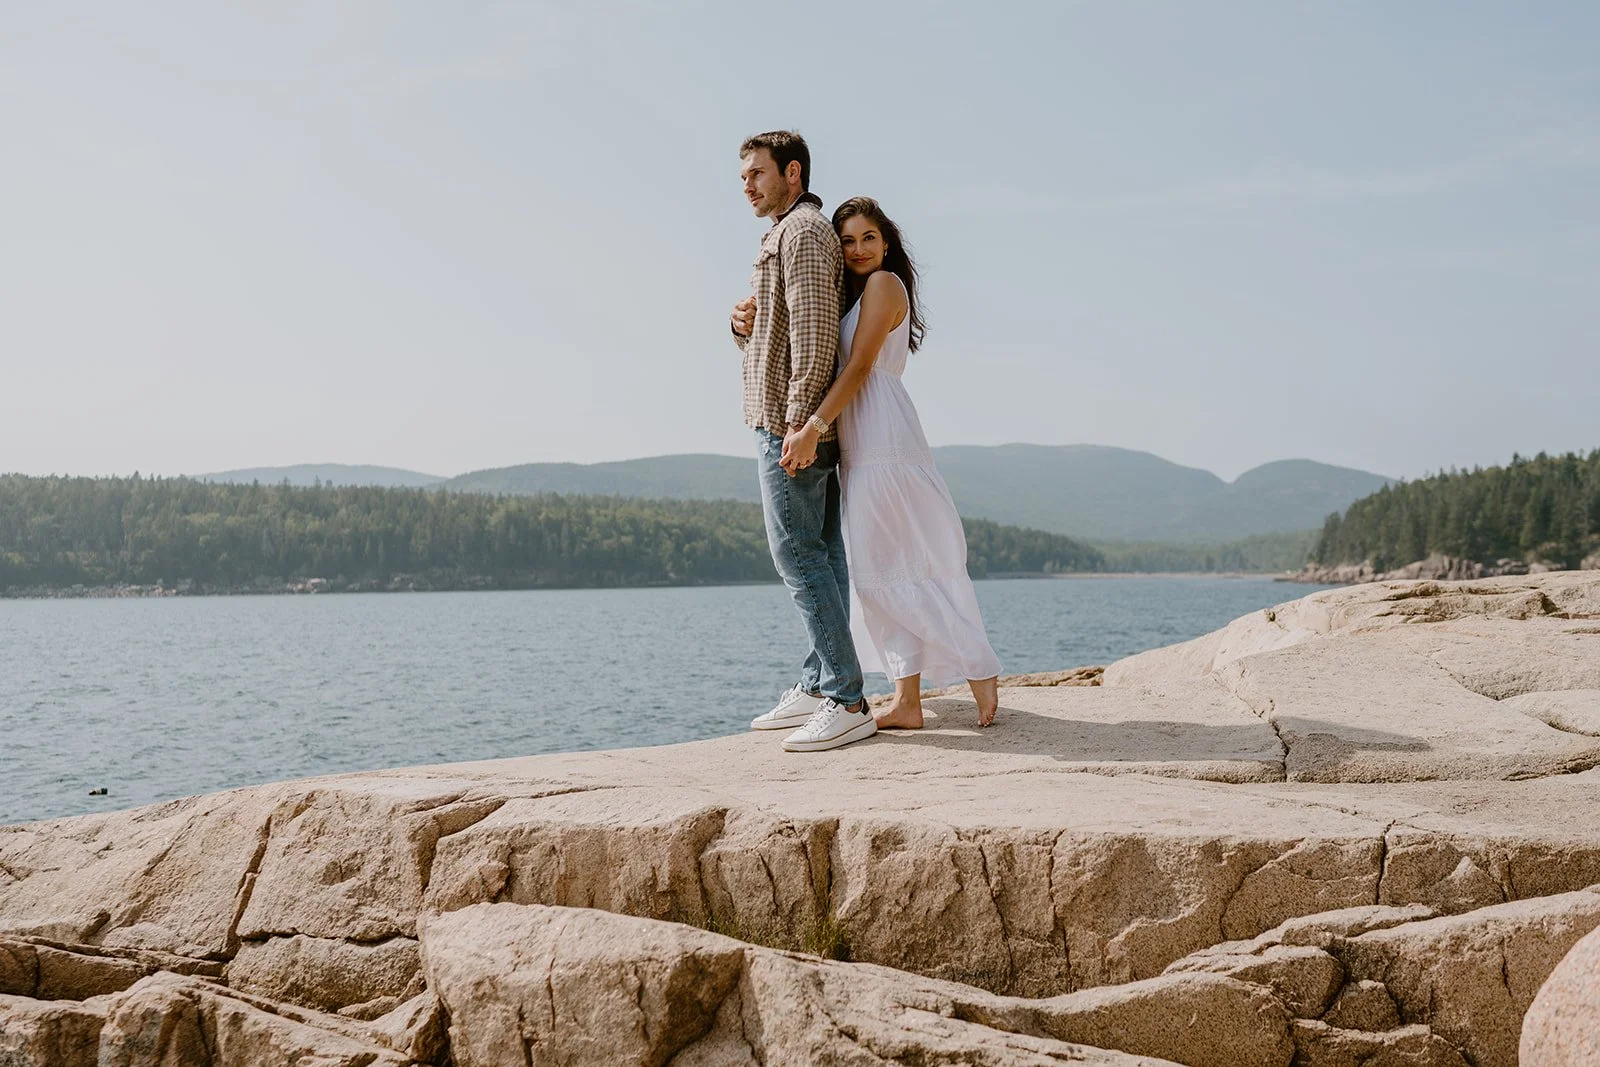
Stacy and JC were engaged on July 4 in Acadia National Park. Stacy's friend, Erin, reached out to me on instagram to set up a surprise photoshoot for her to celebrate her engagement. I was only available during the day, so we planned to shoot at 3pm that afternoon! JC has a family house in Acadia, so they easily walked to meet me at Monument Cove where we first started our engagement session. We were able to split our hour between Monument Cove and Otter Point, so we spent 30 mins at each spot. Both Stacy and JC were naturals in front of the camera, so it barely took any prompting from me at all - I kind of just let them interact with each other how they would usually and documented those moments! We ended at Otter Point where Stacy and JC popped a bottle of champagne - a perfect ending to their engagement shoot (and fun for photos, too!)
Remember to embrace the sun's beauty, experiment with various tools and settings, and always be open to learning and refining your skills in different lighting conditions. Ultimately, mastering sun-kissed photography can lead to a portfolio filled with captivating, sun-drenched moments.
Inquire here and let’s plan the dreamiest engagement session and enjoy the sun!